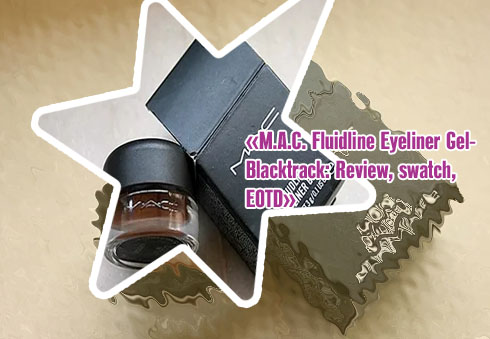
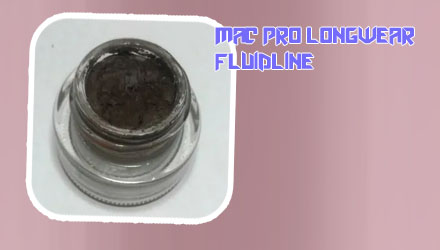
Mac dipdown gel liner
If you're looking for tips and tricks on how to use the MAC Dipdown Gel Liner, you've come to the right place! Below are three articles that will provide you with valuable information on how to make the most out of this popular eyeliner product. From application techniques to recommended brushes, these articles will help you achieve the perfect winged eyeliner look every time.
The Ultimate Guide to Applying MAC Dipdown Gel Liner
Achieve the perfect winged eyeliner look with MAC Dipdown Gel Liner. This revolutionary product has taken the beauty world by storm, offering a long-lasting and smudge-proof formula that is perfect for creating precise lines.
To apply MAC Dipdown Gel Liner like a pro, start by prepping your eyelids with a primer to ensure the product adheres smoothly. Then, using an angled eyeliner brush, dip it into the gel liner and start by drawing a thin line along your upper lash line. Take your time to build up the intensity of the line, making sure to connect it to the outer corner of your eye for a seamless finish.
For a classic winged eyeliner look, extend the line slightly beyond the outer corner of your eye and create a flick upwards towards the end of your eyebrow. You can also experiment with different shapes and angles to find a style that suits your eye shape.
MAC Dipdown Gel Liner is a favorite among makeup artists and beauty influencers for its intense pigmentation and long-wearing formula. With just a few simple steps, you can achieve a professional-looking eyeliner look that will last all day and night.
5 Must-Have Brushes for Perfecting Your MAC Dipdown Gel Liner
Today we are talking about the essential brushes you need to perfect your MAC Dipdown Gel Liner application. We have with us a makeup artist, Sarah, who is going to share her top picks for achieving flawless eyeliner looks.
Sarah, what are the must-have brushes for applying gel liner effectively?
Sarah: The first brush you need is a fine angled brush, like the MAC 266 Small Angle Brush. This brush is perfect for creating precise lines and wings with your gel liner. Next, you'll want a flat eyeliner brush, such as the Sigma E05 Eye Liner Brush, for filling in and smudging your liner for a softer look. A pencil brush, like the Morphe E36 Detail Crease Brush, is great for smudging and blending out your liner for a smoky effect. A small detail brush, such as the Real Techniques Accent Brush, is perfect for adding intricate details or highlights to your liner. Lastly, a spoolie brush, like the Anastasia Beverly Hills Brush 12, is essential for grooming and shaping your brows before applying your liner.
Thank you, Sarah, for sharing your expertise on the best brushes for perfecting your gel liner application. These brushes are sure to elevate your makeup game and help you achieve flawless eyeliner
Tips and Tricks for Long-Lasting Wear with MAC Dipdown Gel Liner
Today, we have the pleasure of speaking with makeup artist and beauty enthusiast, Sarah, about her favorite tips and tricks for achieving long-lasting wear with MAC Dipdown Gel Liner.
Sarah, can you share with us your top tip for ensuring that your gel liner stays put all day?
Sarah: Of course! My number one tip is to always start with a clean, dry eyelid. This will help the gel liner adhere better and prevent smudging throughout the day. I like to use a primer specifically designed for eyelids to create a smooth canvas for the liner.
That's a great tip! Do you have any tricks for making the gel liner last even longer?
Sarah: Absolutely! One trick I swear by is setting the gel liner with a matching eyeshadow. After applying the gel liner, I gently press a small amount of eyeshadow on top to lock it in place. This not only helps the liner last longer but also intensifies the color.
Thank you for sharing those fantastic tips, Sarah! By following these expert tips and tricks, makeup lovers can achieve a flawless and long-lasting eye look with MAC Dipdown Gel Liner.